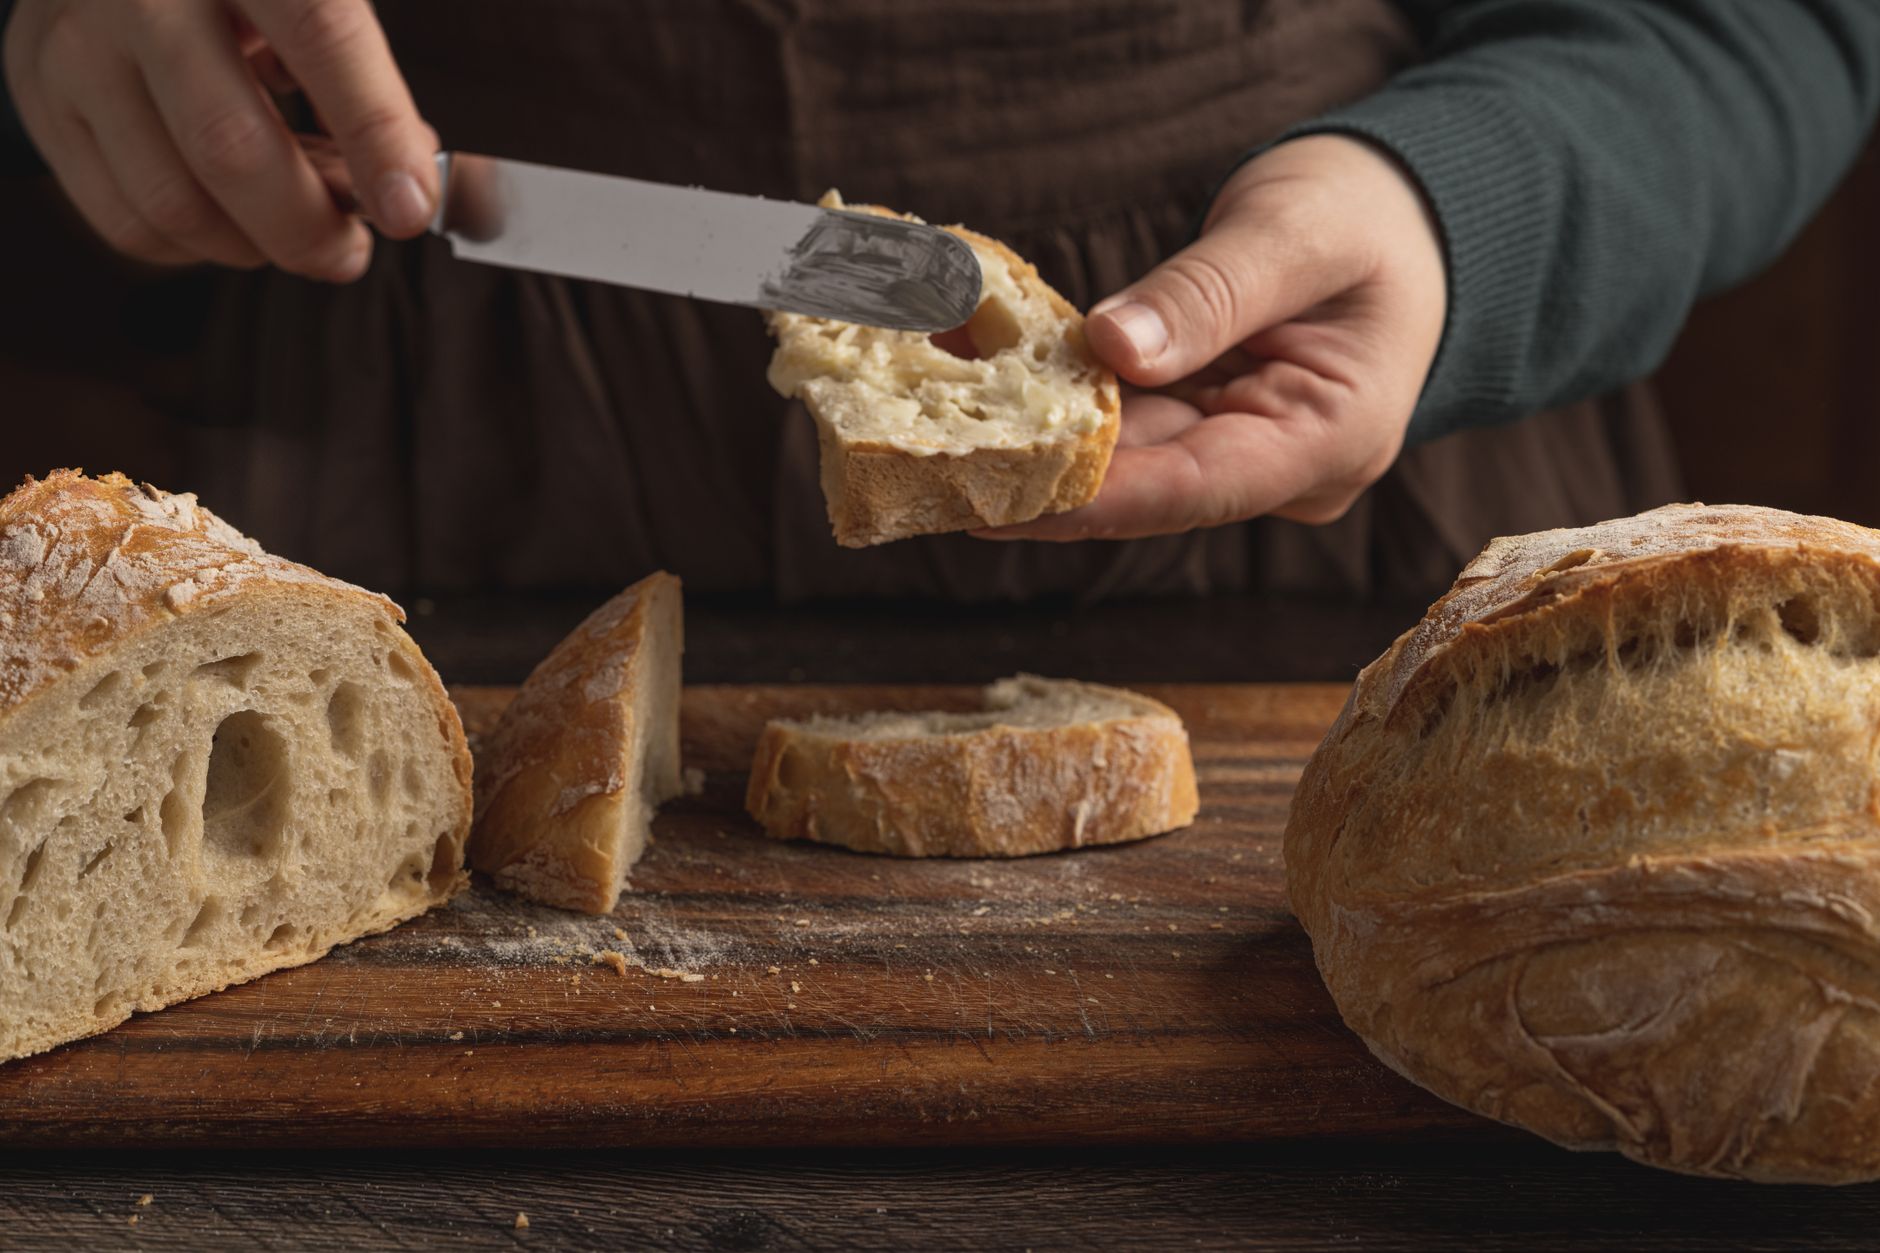
How to Make Sourdough Bread at Home: Your Ultimate Guide
how to make sourdough bread at home

How to Make Sourdough Bread at Home: Your Ultimate Guide

Unlock the secrets to baking delicious, crusty sourdough bread right in your own kitchen with our expert advice.

Start Baking Today!

Key Takeaways

  • ✓ Sourdough relies on a 'starter' – a fermented mix of flour and water – for leavening.
  • ✓ Patience is key; the process involves multiple proofing stages over hours.
  • ✓ High-quality flour and proper hydration are crucial for texture.
  • ✓ A Dutch oven is highly recommended for achieving a perfect crust and crumb.

How It Works

1
Activate Your Sourdough Starter

Ensure your starter is active and bubbly before beginning. Feed it 4-12 hours prior to mixing your dough, ensuring it doubles in size.

2
Mix & Autolyse the Dough

Combine flour and water for an initial hydration period (autolyse) to strengthen gluten. Then, incorporate your active starter and salt, gently mixing until just combined.

3
Ferment & Fold

Allow the dough to bulk ferment at room temperature, performing a series of 'stretch and folds' every 30-60 minutes. This builds structure and distributes yeast activity.

4
Shape & Cold Proof

Gently shape your dough into a boule or batard and place it in a floured banneton. Cold proof in the refrigerator overnight, which develops flavor and slows fermentation.

Understanding Your Sourdough Starter: The Heart of the Loaf
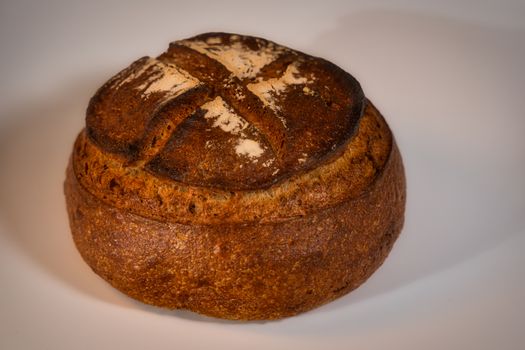
A beautifully crafted artisan bread loaf showcasing traditional baking in a Berlin bakery. Photo: Travel with Lenses / Pexels
Before you can truly master how to make sourdough bread at home, you must first understand and nurture its living, breathing soul: the sourdough starter. This seemingly simple mixture of flour and water, teeming with wild yeasts and beneficial bacteria, is what gives sourdough its distinctive tang, airy crumb, and incredible rise. Think of your starter not just as an ingredient, but as a pet that needs regular feeding and care. Creating a starter from scratch typically takes about 5-7 days. You'll combine equal parts flour (rye or whole wheat are excellent choices to kickstart activity due to their higher nutrient content) and non-chlorinated water in a jar. Each day, you'll discard a portion of the old starter and feed it fresh flour and water. This process encourages the right microorganisms to flourish while discouraging undesirable ones. Over time, your starter will become more active, showing signs like bubbling vigorously, developing a pleasant, slightly sour aroma, and reliably doubling in size a few hours after feeding. The consistency should be like a thick pancake batter when fed. Maintaining your starter is crucial. If you bake frequently (several times a week), you can keep your starter on the counter, feeding it every 12-24 hours. For less frequent baking, refrigeration is your friend. A refrigerated starter needs feeding only once a week or every two weeks. Before baking, you'll need to 'wake up' your refrigerated starter by feeding it a few times at room temperature until it's consistently active and bubbly, usually within 1-2 days. An active starter is paramount for a successful loaf; a sluggish starter will result in dense, flat bread. Learning to read your starter – its smell, its bubbles, its rise – is one of the most rewarding aspects of sourdough baking and will significantly impact your results when you embark on how to make sourdough bread at home. Remember, consistency in feeding and using good quality, unbleached flour are key to a robust and reliable starter. If you're looking for more detailed instructions on creating and maintaining a robust starter, check out our guide on sourdough starter care.

The Art of Mixing and Bulk Fermentation for Homemade Sourdough
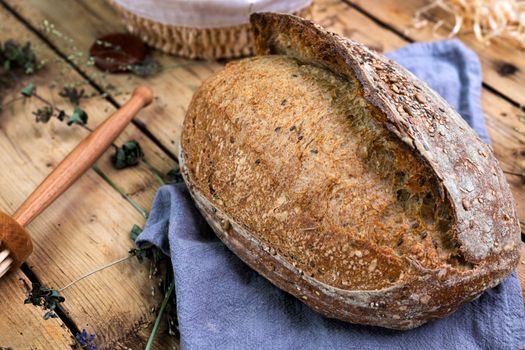
Freshly baked sourdough bread with seeds on a rustic wooden table setting. Photo: Jana Ohajdova / Pexels
Once your sourdough starter is vibrant and active, the real magic of how to make sourdough bread at home begins with mixing your dough and initiating the bulk fermentation. This stage is critical for developing gluten, which provides the bread's structure, and allowing the wild yeasts to begin their work, producing gas that creates those coveted airy pockets. Start with the 'autolyse' method. This simple step involves mixing just the flour and water for your recipe and letting it rest for 30-60 minutes. No starter, no salt yet! This resting period allows the flour to fully hydrate and enzymes to start breaking down proteins, which naturally develops gluten without much kneading. It makes the dough much easier to work with later and leads to a more extensible, elastic dough. For aspiring home bakers, this step is a game-changer. After the autolyse, it's time to incorporate your active sourdough starter and salt. Gently mix these into the dough until fully combined. Avoid overmixing; a shaggy, somewhat sticky dough is perfectly normal. The bulk fermentation (also known as the first rise) then begins. This is where the dough undergoes its primary fermentation, developing flavor and strength. The duration of bulk fermentation is highly dependent on ambient temperature and the activity of your starter. It can range anywhere from 4 to 12 hours. During bulk fermentation, you'll perform a series of 'stretch and folds.' Typically, every 30-60 minutes for the first 2-3 hours, you'll gently stretch a portion of the dough up and fold it over itself. Rotate the bowl and repeat this motion 3-4 times until all sides have been stretched and folded. This technique builds strength in the dough, distributes the yeast and bacteria evenly, and helps degas the dough just enough to create a beautiful crumb. You'll notice the dough becoming smoother, more elastic, and gaining volume with each set of folds. Pay attention to how the dough feels – it should feel alive and resilient. By the end of bulk fermentation, the dough should have increased significantly in volume (often by 30-50%), feel airy, and show signs of bubbling on the surface. Understanding and executing this stage correctly is fundamental to success when you learn how to make sourdough bread at home.

Shaping and Proofing: Crafting the Perfect Sourdough Loaf
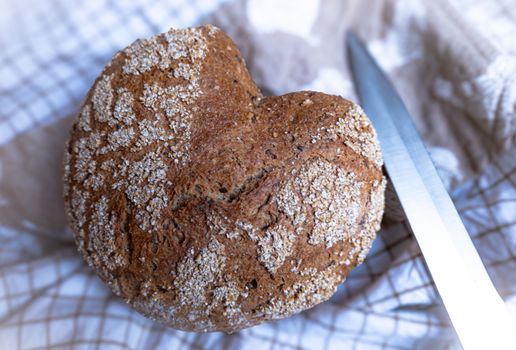
Close-up of heart-shaped rustic whole grain bread on a cloth with knife. Photo: Sabine Freiberger / Pexels
Once your bulk fermentation is complete, you're ready for the transformative stage of shaping and proofing, crucial steps in how to make sourdough bread at home. This is where your shaggy, fermented dough begins to take on the recognizable form of a loaf, and its final flavors and textures are locked in. First, gently turn your dough out onto a lightly floured surface. Avoid deflating it too much, as those precious air bubbles contribute to the open crumb. The goal of preshaping is to create initial tension. Gently form the dough into a loose round or rectangle, letting it rest for 20-30 minutes. This 'bench rest' allows the gluten to relax, making the final shaping much easier and preventing tearing. Next comes the final shaping. This is where you build the surface tension that will give your bread its structure and help it hold its shape during baking. There are various techniques for shaping, but the core principle is to create a tight skin on the outside of the dough while maintaining an airy interior. For a round boule, you might gently fold the edges towards the center, then flip it over and use the surface tension of your work surface to tighten the dough into a smooth, taut ball. For a batard (oval shape), you might roll it up tightly. Practice makes perfect here, and watching videos can be incredibly helpful. Once shaped, the dough goes into a floured banneton (proofing basket) or a bowl lined with a floured cloth. This supports the dough's shape during its final rise. The final proof, or 'cold proof,' typically happens in the refrigerator overnight (8-18 hours). This slow, cold fermentation significantly enhances the flavor of your sourdough, developing complex notes that can't be achieved with a quick room-temperature proof. It also makes the dough easier to score and handle when it's cold. A well-proofed dough will feel light and airy, and a gentle poke with a wet finger will show a slow rebound. An under-proofed dough will be dense and tear during baking, while an over-proofed dough might collapse. Mastering this delicate balance is a hallmark of truly knowing how to make sourdough bread at home.

Baking Your Sourdough Loaf: Achieving the Perfect Crust and Crumb
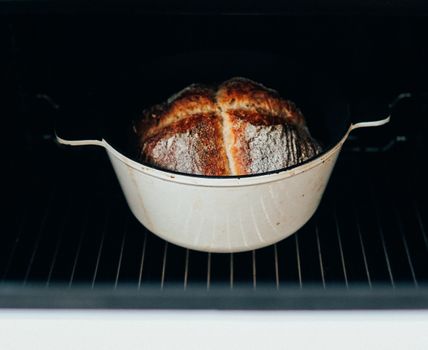
Tasty crusty homemade baked wheat bread on metal wire rack in hot oven Photo: Elle Hughes / Pexels
The moment of truth arrives as you move from proofing to baking, the culmination of your efforts to make sourdough bread at home. The goal is to achieve a beautiful, blistered crust, a rich, open crumb, and that signature sourdough aroma and flavor. The key to success often lies in creating a steamy environment at the beginning of the bake. The best tool for achieving this at home is a Dutch oven or a heavy-bottomed pot with a lid. Preheat your oven to a very high temperature (usually 450-500°F or 230-260°C) with the Dutch oven inside for at least 30-60 minutes. This ensures the pot is screaming hot, which is crucial for oven spring – the rapid expansion of the dough during the first few minutes of baking. Carefully remove the hot Dutch oven from the oven. Gently invert your cold, proofed dough into the hot pot. Before replacing the lid, score the top of your dough with a sharp razor blade or lame. This not only creates a beautiful design but also controls where the bread expands, preventing uncontrolled tearing. A single deep score or multiple shallow ones can be used. Immediately cover the Dutch oven and return it to the preheated oven. The lidded portion of the bake typically lasts for 20-30 minutes. The trapped steam inside the Dutch oven keeps the crust soft and pliable, allowing the dough to expand maximally. This is where the 'oven spring' happens. After this initial period, remove the lid. This allows the steam to escape, and the crust to brown and crisp up. Reduce the oven temperature slightly (e.g., to 425-450°F or 220-230°C) and continue baking for another 20-30 minutes, or until the crust is a deep golden brown and the internal temperature of the bread reaches 200-210°F (93-99°C). Once baked, immediately transfer the loaf to a wire rack to cool completely for at least 1-2 hours before slicing. Slicing too early can result in a gummy interior. Enjoy the fruits of your labor!

Comparison

FeatureSourdough (Homemade)Commercial Yeast BreadNo-Knead Bread
Leavening AgentSourdough Starter (Wild Yeast)Instant/Active Dry YeastInstant/Active Dry Yeast
Flavor ProfileComplex, Tangy, DeepMild, YeastyMild, Simple
Time CommitmentLong (12-24+ hrs)Moderate (2-4 hrs)Long (12-18 hrs)
Crust & CrumbChewy Crust, Open CrumbSofter Crust, Tighter CrumbCrispy Crust, Open Crumb
DigestibilityOften easier due to fermentationStandardStandard
Required EquipmentDutch Oven, BannetonBaking SheetDutch Oven

What Readers Say

"This guide finally helped me understand how to make sourdough bread at home. My first loaf came out with a perfect crust and an amazing open crumb. I'm hooked!"

Sarah J. · Austin, TX

"I've tried several sourdough recipes, but this one's detailed steps on starter care and bulk fermentation made all the difference. My bread has never been better."

Mark T. · Seattle, WA

"Following this article, I successfully baked two beautiful sourdough loaves this weekend. The section on shaping was particularly helpful in getting that perfect round shape."

Emily R. · Denver, CO

"The instructions are very thorough, though it took me a couple of tries to get the timing right for my specific kitchen temperature. Still, a fantastic resource for learning how to make sourdough bread at home."

David L. · Boston, MA

"As a beginner, I found the explanation of each stage incredibly clear. My family can't believe I made this delicious sourdough myself!"

Jessica M. · Chicago, IL

Frequently Asked Questions

What is the most crucial factor for successful sourdough bread?

The most crucial factor is an active and healthy sourdough starter. A strong starter provides the necessary leavening and contributes significantly to the flavor and texture of your bread. Ensure it's fed regularly and consistently doubles in size before use.

My sourdough bread is dense and doesn't rise well. What went wrong?

A dense loaf often indicates an under-active starter, under-proofing, or insufficient gluten development. Make sure your starter is bubbly and strong, allow adequate bulk fermentation and final proofing time, and perform enough stretch and folds to build dough strength.

How do I create a sourdough starter from scratch?

To create a starter, combine equal parts (e.g., 50g) whole wheat or rye flour with 50g non-chlorinated water in a jar. Cover loosely. For the next 5-7 days, discard all but 50g of the starter, then feed it 50g flour and 50g water daily until it consistently doubles in size within 4-8 hours after feeding.

Is making sourdough bread at home expensive?

Making sourdough at home is generally very cost-effective in the long run. Initial costs might include a Dutch oven and banneton, but the ingredients (flour, water, salt) are inexpensive, making it much cheaper than buying artisanal loaves regularly.

How does sourdough compare to regular yeast bread in terms of health benefits?

Sourdough fermentation can break down phytic acid in flour, which may improve nutrient absorption. It also often has a lower glycemic index and can be easier to digest for some individuals due to the breakdown of gluten by beneficial bacteria, though it's not gluten-free.

Who should try making sourdough bread at home?

Anyone with a passion for baking, an interest in natural fermentation, or a desire for healthier, more flavorful bread should try making sourdough at home. It requires patience but is incredibly rewarding for those who enjoy the process.

What are the common risks or mistakes when making sourdough?

Common mistakes include using an inactive starter, under or over-proofing the dough, not developing enough gluten, and slicing the bread before it has fully cooled. Following a good recipe and paying attention to your dough's feel and appearance can mitigate most risks.

What's the next big trend in home sourdough baking?

The next big trend seems to be exploring ancient grains and alternative flours (like spelt, einkorn, or kamut) in sourdough, as well as incorporating unique inclusions like seeds, fruits, and savory elements to create even more diverse and personalized loaves.

Ready to experience the unparalleled satisfaction of baking your own artisanal bread? With this comprehensive guide, you now have all the knowledge to confidently tackle how to make sourdough bread at home. Gather your ingredients, nurture your starter, and embark on a rewarding culinary journey that will fill your kitchen with incredible aromas and your table with delicious, homemade sourdough.

Topics: how to make sourdough bread at homesourdough baking guidehomemade sourdough recipesourdough starter carebaking artisan bread
Leo List

DK Escorts LU Escorts AT Escorts SE Escorts FI Escorts CH Escorts DE Escorts HR Escorts IE Escorts GR Escorts CZ Escorts NO Escorts BE Escorts FR Escorts SI Escorts IL Escorts NL Escorts PL Escorts HU Escorts ES Escorts IT Escorts PT Escorts SK Escorts RO Escorts ZA Escorts UY Escorts US Escorts UK Escorts NZ Escorts AU Escorts
Brampton weed
Adultwork EstrelaBet Vai de Bet R7 Bet Betão Galera Bet Rainbet Bet9ja Shop SportyBet BetKing Sisal Loto Foot Hollywoodbets YesPlay Odibets RushBet Jugabet BetWarrior BetCity MSport betPawa Fortebet