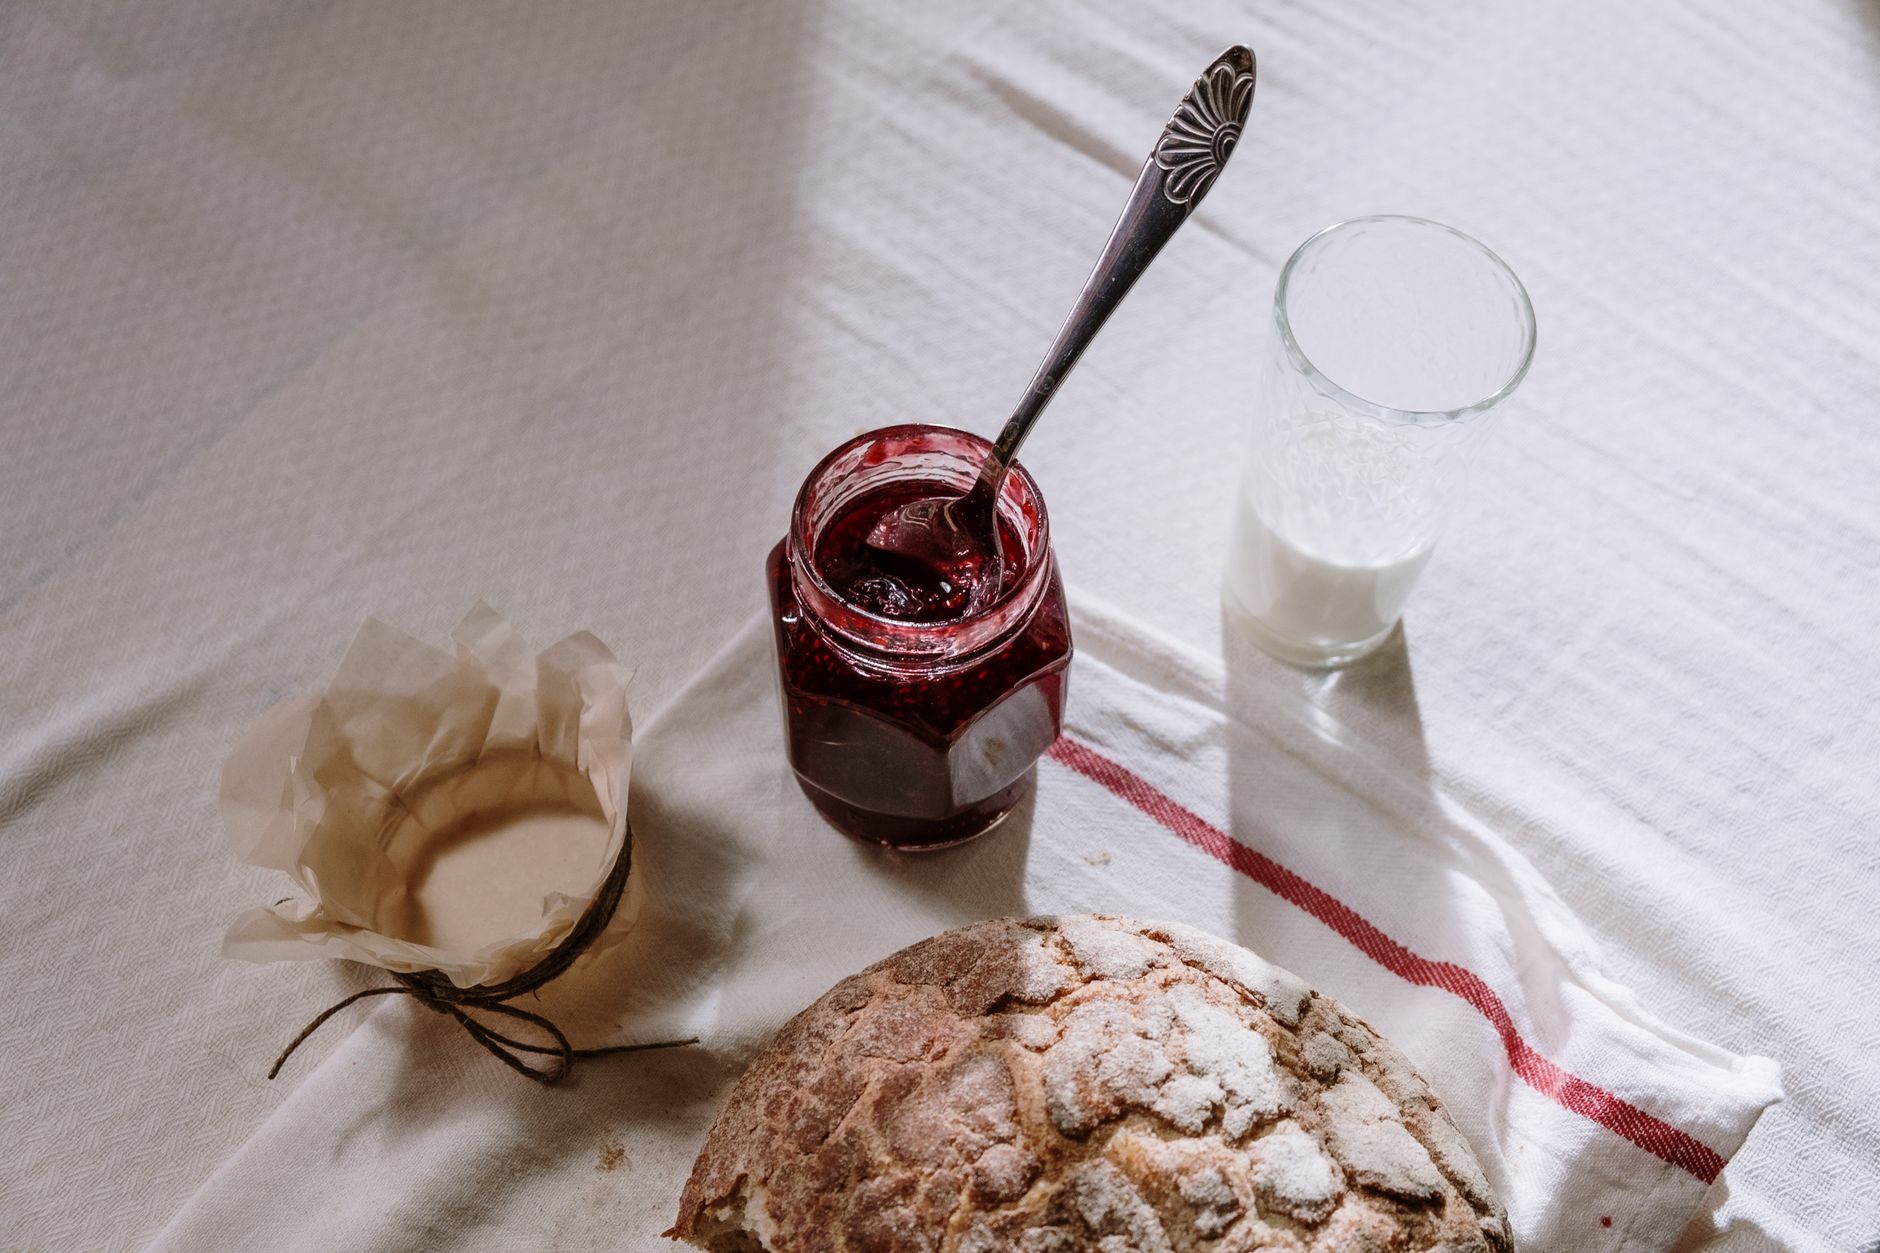
 Photo: cottonbro studio / Pexels
how to make sourdough bread starter from scratch: Your Ultimate Guide
Unlock the secrets to creating your own thriving sourdough starter for a lifetime of artisanal bread baking.
Start Your Sourdough JourneyKey Takeaways
- ✓ Sourdough starter is a living culture of wild yeast and bacteria.
- ✓ It requires only flour and water to begin.
- ✓ Patience is key; it typically takes 5-7 days to become active.
- ✓ Regular feeding is crucial for its health and activity.
How It Works
Mix equal parts whole wheat flour and filtered water in a clean jar. This initial mixture kickstarts the fermentation process by providing food for wild yeasts.
Discard most of the starter and feed the remainder with fresh flour and water daily. This process removes old, acidic byproducts and introduces new nutrients for the growing microbial community.
Look for signs of activity like bubbles, a pleasant sour smell, and growth after feeding. These indicate that your starter is becoming strong and viable for baking.
Once your starter consistently doubles in size within 4-6 hours after feeding, it's ready for baking. This robust activity ensures proper leavening for your sourdough bread.
The Magic Behind Your Sourdough Starter Recipe
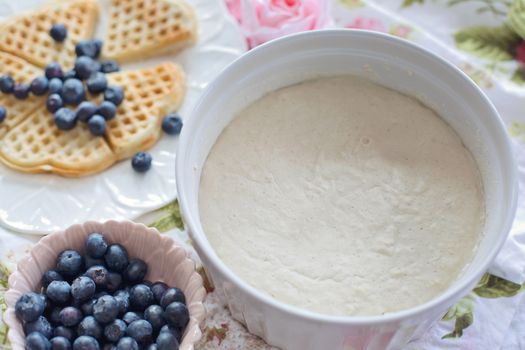 Photo: Jill Wellington / Pexels
Essential Ingredients and Equipment for Success
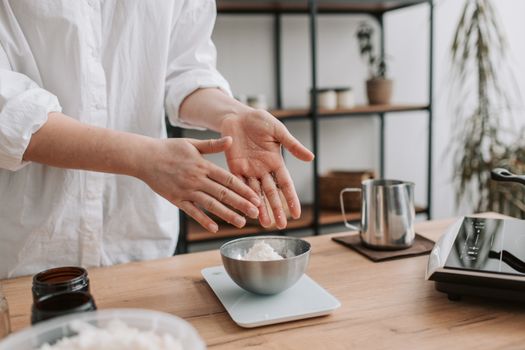 Photo: Vlada Karpovich / Pexels
See also: Sex toy review methodology.
A Step-by-Step Guide to Creating Your Active Sourdough Culture
Photo: Jill Wellington / PexelsTroubleshooting Common Sourdough Starter Issues & Maintenance
Photo: Jill Wellington / PexelsComparison
| Feature | Sourdough Starter (Homemade) | Commercial Active Dry Yeast | Commercial Instant Yeast |
|---|---|---|---|
| Leavening Agent | Wild Yeast & Bacteria | Saccharomyces cerevisiae | Saccharomyces cerevisiae |
| Flavor Profile | Complex, Tangy, Unique | Mild, Yeasty | Mild, Yeasty |
| Digestion Benefits | Improved | Limited | Limited |
| Cost | Flour & Water (Low) | Low | Low |
| Maintenance | Daily/Weekly Feeding | Store Dry | Store Dry |
| Time to Prepare Dough | Long (Fermentation) | Short | Short |
| Natural Preservation | ✓ | ✗ | ✗ |
| Equipment Needed | Jar, Scale | None | None |
What Our Readers Say
"This guide on how to make sourdough bread starter from scratch was incredibly detailed and easy to follow. My starter, 'Bubbly', is now a week old and thriving, full of life and ready for its first loaf!"
Sarah J. Portland, OR"I've tried making a starter before and failed, but this article explained everything so clearly. The tips on troubleshooting common issues were particularly helpful. I finally have a vigorous starter!"
Michael D. Austin, TX"Following these instructions to make sourdough bread starter from scratch resulted in a perfectly active starter in just 6 days. My first sourdough loaf had an amazing open crumb and fantastic flavor, all thanks to this guide!"
Emily R. Denver, CO"The steps were mostly clear, though I had a slight delay in activity on day 4. The troubleshooting section helped immensely, and my starter eventually came to life. Patience is truly key!"
David L. Chicago, IL"As someone new to baking, the thought of making a sourdough starter seemed daunting. This guide broke it down into manageable steps, and now I'm confidently maintaining my own starter for weekly bread and pizza dough!"
Jessica M. Miami, FLFrequently Asked Questions
What is the most common reason a sourdough starter fails?
My starter smells like nail polish remover, is it ruined?
How do I know when my sourdough starter is ready to bake with?
Is it expensive to make and maintain a sourdough starter?
How does a sourdough starter compare to commercial yeast for baking?
Who should try to make sourdough bread starter from scratch?
What if mold appears on my sourdough starter?
What are some future trends for sourdough baking?
Now that you know how to make sourdough bread starter from scratch, you're equipped to begin a fulfilling journey into the world of artisanal baking. Embrace the process, enjoy the transformation, and get ready to create the most delicious, wholesome bread right in your own kitchen.